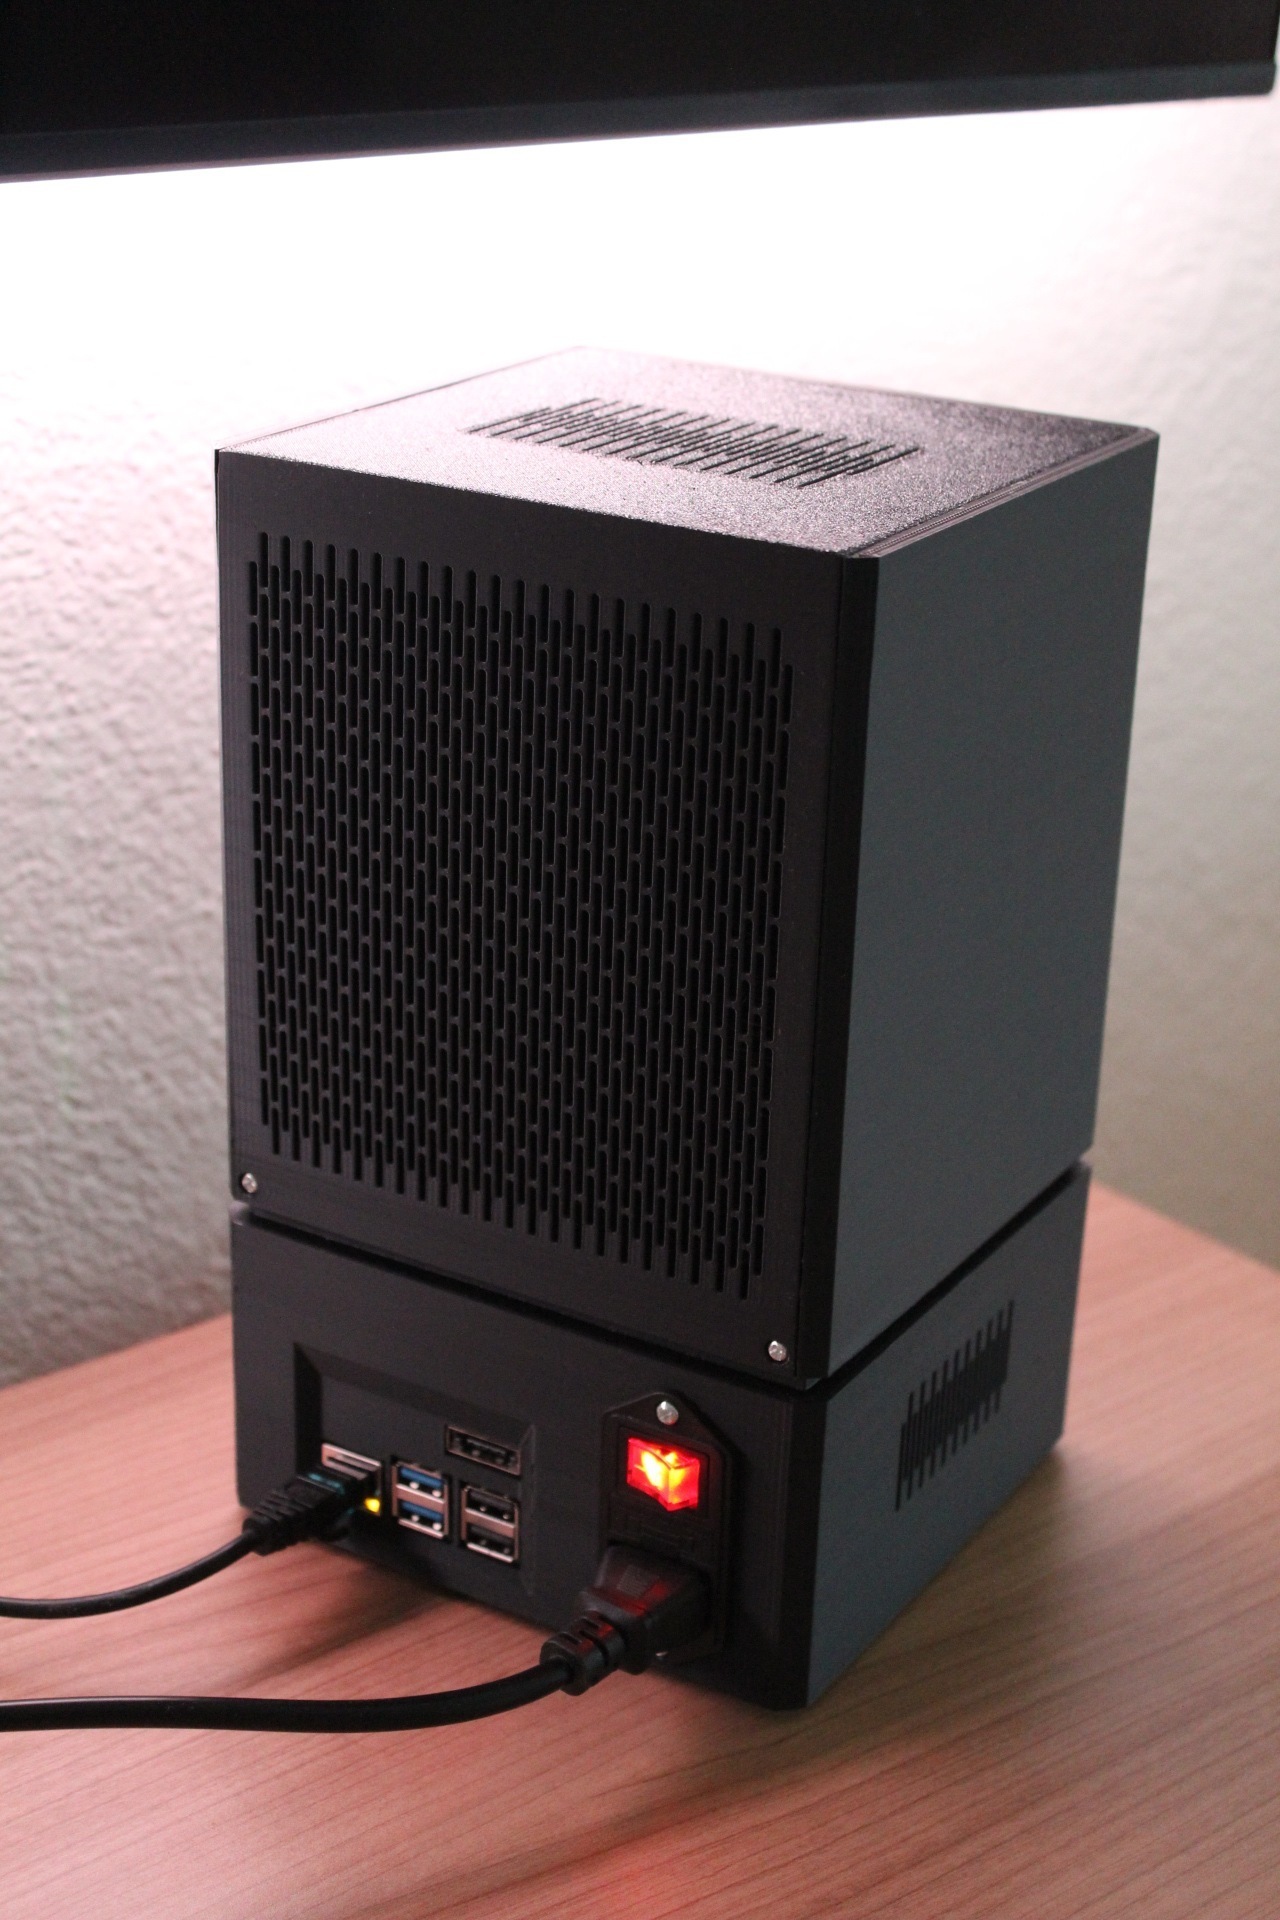
Absolutely excellent, and worth considering if you already own a Raspberry Pi 5. I've been using the Quad Sata Aluminum Case for the Pi 4 over several years, but this is a wonderful upgrade for using 3.5" disks directly, instead of 2.5" Radxa normally offers. Also see this reddit thread. All pictures and info being imported directly from the linked Cult listing! My only concern would be if PLA is sufficient for heat tolerance in this use case; great design!
Here is the listing for the design files.
3D printing settings
Bill of Materials (BOM):
Core Electronics:
Raspberry Pi 5
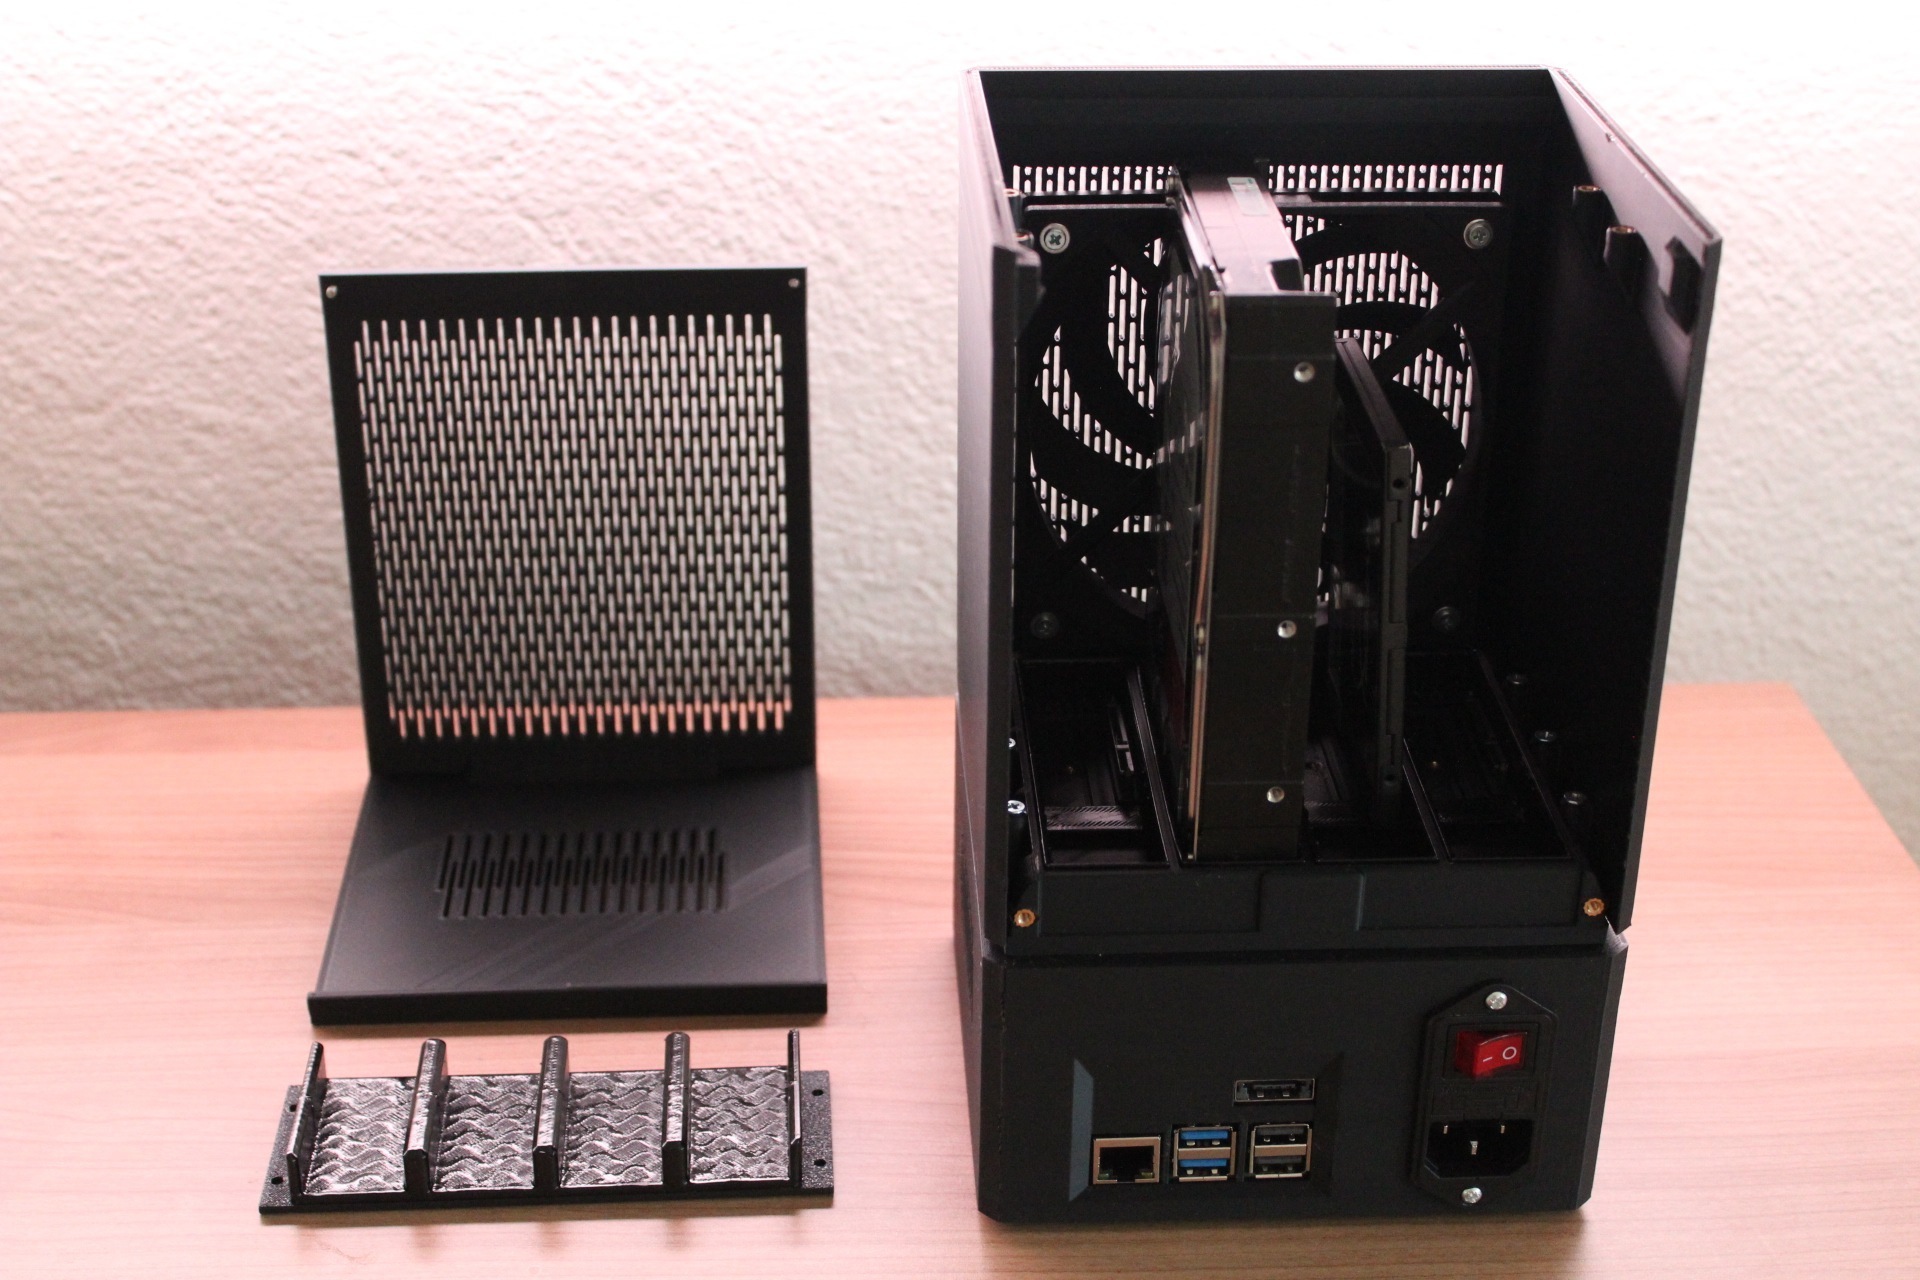
Radxa Penta SATA HAT
4x SATA extension cables (10cm to 30cm length recommended)
Internal Power Supply: 12V DC (100W adapter recommended)
Hardware:
26x M3 Screws & Brass Heat-set inserts
2x M2 Screws & Brass Heat-set inserts (for internal PSU mounting)
Optional: 1x 12015 Slim Fan (recommended for temperature management)
Optional: 230V Power Socket with integrated switch
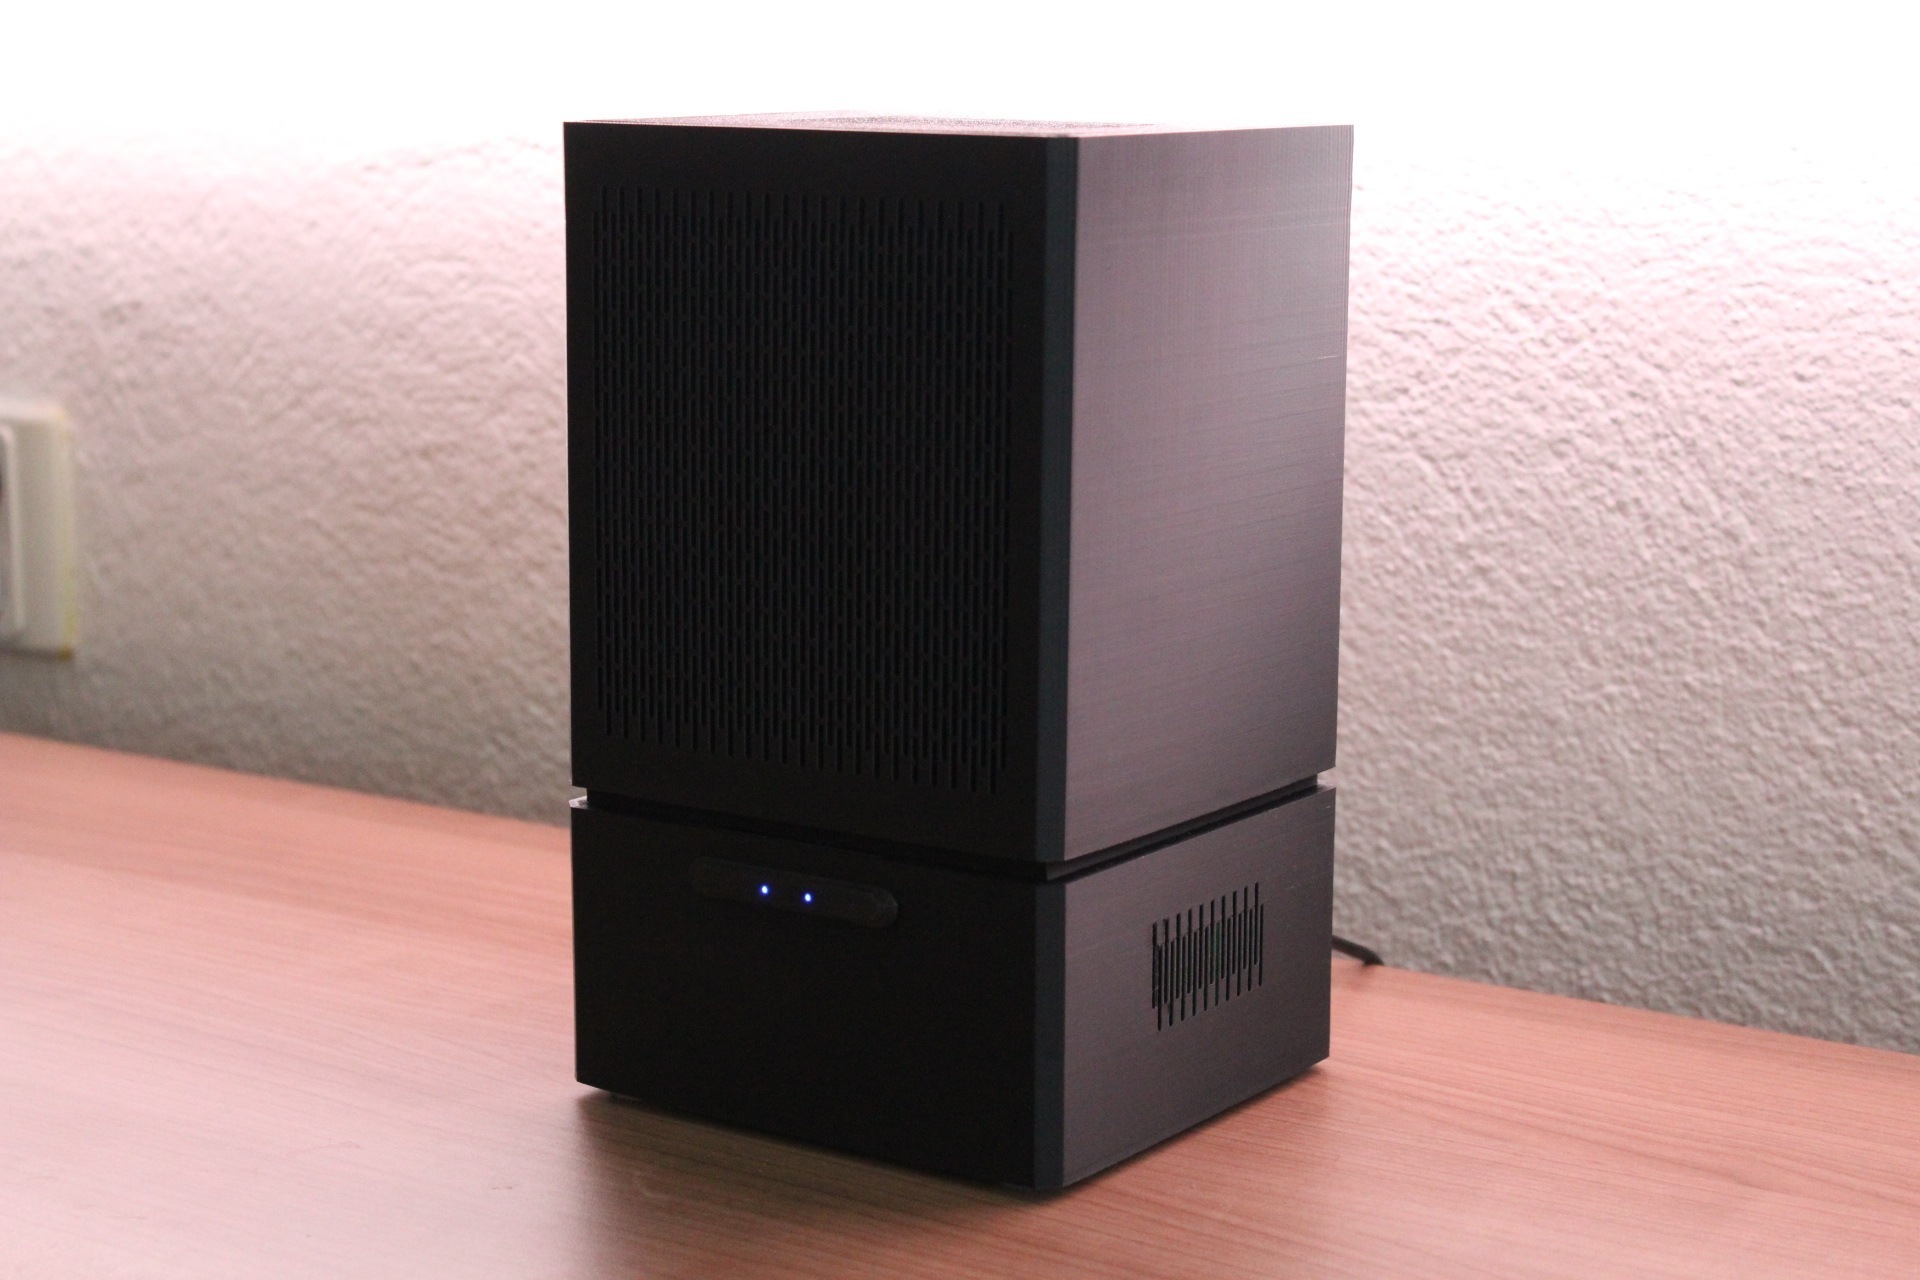
Optional: 4x 8cm (1mm diameter) Fiber Optic cables for LED indicators
3D Printing Settings:
Material: PLA, PETG, or ABS/ASA for the main body.
Vibration Control: Two components are specifically designed to be printed in TPU to eliminate HDD mechanical noise.
Note: If you cannot print TPU, these can be replaced with small pieces of soft rubber or foam tape.
Supports: The design is highly optimized for printing. Supports are only required for the "base-part". All other parts are designed to be printed support-free.
Infill: 15-20% (Gyroid recommended for strength).
Walls: At least 3 walls for durability around the screw inserts.
Assembly Tips:
Heat-set Inserts: Use a soldering iron at a medium temperature to carefully press the M3/M2 brass nuts into the pre-modeled holes.
LED Fiber Optics: Cut the 1mm fiber optic strands to approximately 8cm. Insert them into the dedicated channels to guide the light from the Radxa HAT to the front panel.
Power Flexibility: If you choose not to use the internal 230V PSU, use the provided alternative cover plate. You can easily drill a hole or modify the STL to fit your specific 12V DC jack.